Building My First Blog
If you've been thinking of building a dev blog, you may be overwhelmed by the number of technologies available. It is time consuming to try research every option only to find out that most of them the most appropriate solution for your needs.
Technology Choices
I'm going to share my thought process on how I chose technologies for this blog.
React
I'm a big fan of React. Its my go-to for frontend development and what I have been using it since 2016.
If you are aspiring to become a software engineer with a focus on frontend development, then I highly recommend learning React. Here are a few reasons why:
- React helps to build rich user interfaces and by writing reusable components.
- React is easy to learn. Anyone with basic knowledge of JavaScript can use React.
- React has strong community support and comes with many useful developer toolsets.
- React is used by many fortune 500 companies. Job stability secured.
- React knowledge transfers to mobile development using React Native. "Write once, run anywhere".
- React doesn't often deprecate its APIs and has backwards compatibility.
Next.js
I built this blog using a React framework called Next.js.
Next.js lets us read data from different types of sources effortlessly. Thanks to its dynamic routing and next/link, we can quickly build and navigate to our blog's various pages. We also get image optimization for free with the next/image package.
We can focus on our application itself because we don’t have to spend any time on the repetitive groundwork new projects often come with. Instead of building everything by hand, we can rely on the tested and proven framework. The large and active community behind Next.js makes it easy to get help if we run into issues along the way.
Vercel
This blog is deployed on Vercel.
Vercel is the organization behind Next.js and they provide everything you need to deploy and optimize a Next.js app for production. Every Next.js feature will work out of the box, with zero configuration needed.
Vercel has integration with GitHub and automatically deploys feature previews for every commit you push to your repository. This is super useful as a staging environment for code reviews and QA-ing your changes. Similarly, any commits pushed to your master branch will automatically be deployed to your website's production environment.
Styled Components
When it comes to styling, I use styled-components. It is a library for React that allows you to use component-level styles in your application that are written with a mixture of JavaScript and CSS using a technique called CSS-in-JS.
Creating a button that renders with any color, but red as default is as simple as:
import styled from 'styled-components';

const Button = styled.button`
  background-color: ${props => props.color || 'red'};
  color: #fff;
`;
Josh Comeau does a really great job at explaining how Styled Components works in this post: Demystifying styled-components.
Managing Content with Markdown
Markdown is a lightweight markup language that you can use to add formatting elements to plain text documents. It is currently one of the world’s most popular markup languages.
When you create a markdown-formatted file, you add markdown syntax to the text to indicate which words and phrases should look different.
For example, a simple heading and list written in markdown would look like:
### Hello World

You can organize items into **ordered** lists.

1. First item
2. Second item
3. Third item
When we render the content, it'll display as:
Hello World
You can organize items into ordered lists.
- First item
- Second item
- Third item
You might be wondering why people use markdown. What makes markdown special?
- Markdown can be used for everything.
- Markdown is portable. Files containing markdown-formatted text can be opened using virtually any application.
- Markdown is platform independent. You can create markdown-formatted text on any device running any operating system.
- Markdown is future proof. Even if the application you’re using stops working at some point in the future, you’ll still be able to read your markdown-formatted text using a text editing application.
- Markdown is everywhere. Websites like Reddit and GitHub support markdown, and lots of desktop and web-based applications support it.
Markdown with Components
A developer blog wouldn't be a developer blog without fancy custom components in our content. We are able to achieve that using MDX.
MDX allows you to use JSX in your markdown content. You can import components, such as a useless machine, and embed them within your content.
### Useless Machine

<UselessMachine />

<small>Source: [Useless Machine](https://useless-machine.js.org/)</small>
When we render the content, it'll display as:
Useless Machine
Source: Useless Machine
Using MDX is a well rounded solution that leverages perks of both a React application and CMS. There are other solutions out there but MDX is my go-to and a favorite of many other developers.
Frontmatter for Metadata
In this blog, the content is static so we don't need a database and can treat our MDX files as the data. Metadata of each post is stored in a frontmatter block at the top of each MDX file. The metadata for this blog post is:
---
title: 'Building My First Blog'
abstract: 'An in-depth look on my thought process for planning and building this blog.'
category: 'code'
image: '/images/blog/building-my-first-blog.jpeg'
isPublished: true
isShowcased: true
publishedOn: '2021-11-16T04:35:27.347Z'
topics: ['projects']
---
The metadata in the frontmatter block is accessible by our Next.js application and can be leveraged in other React components. This is especially useful for creating pages to display lists of multiple posts.
Creating Pages using Next.js
One of the core features of Next.js are pages. You can create a page by writing a React component in a JavaScript or TypeScript file under the pages directory.
Defining routes by using predefined paths is not always enough for complex applications. In Next.js, you can add brackets to a page to create a dynamic route.
The category page of this blog is an example of dynamic routes. I created a file called pages/categories/[slug].js, that is accessible at /categories/code and /categories/travel. A simplified version of my categories page source code looks like:
const CategoriesPage = ({ params, posts }) => {
  return ...;
};

export const getStaticPaths = async () => {
  const paths = categories.map(category => category.slug);
  return {
    fallback: false,
    paths,
  };
};

export const getStaticProps = async context => {
  const categorySlug = context.params.slug;
  const posts = await getBlogPosts(categorySlug);
  return {
    props: {
      params: context.params,
      posts,
    },
  };
};
By default Next.js pre-renders every page and generates HTML for each page in advance, instead of having it all done by client-side JavaScript. Pre-rendering can result in better performance and SEO.
Since we are using static generation, we can leverage getStaticPaths and getStaticProps, which are functions called during build time.
getStaticPathsreturns an array of paths to pre-rendergetStaticPropsreturns props to pass into our page component
You can learn more about dynamic routes in the documentation written by Next.js.
From Moodboard To Design
I have collaborated with many designers and learned a lot from them over time. I often asked questions to better understand how design decisions are made. Such as, how did you come up with this layout?
For this blog, I have tried making my own and quickly realized that it does not naturally come to me.
Instead, I created a moodboard (or inspiration board) which is a collage of different designs. I browsed websites like Behance and Dribbble where professional and inspiring designers post their work to showcase for the public.
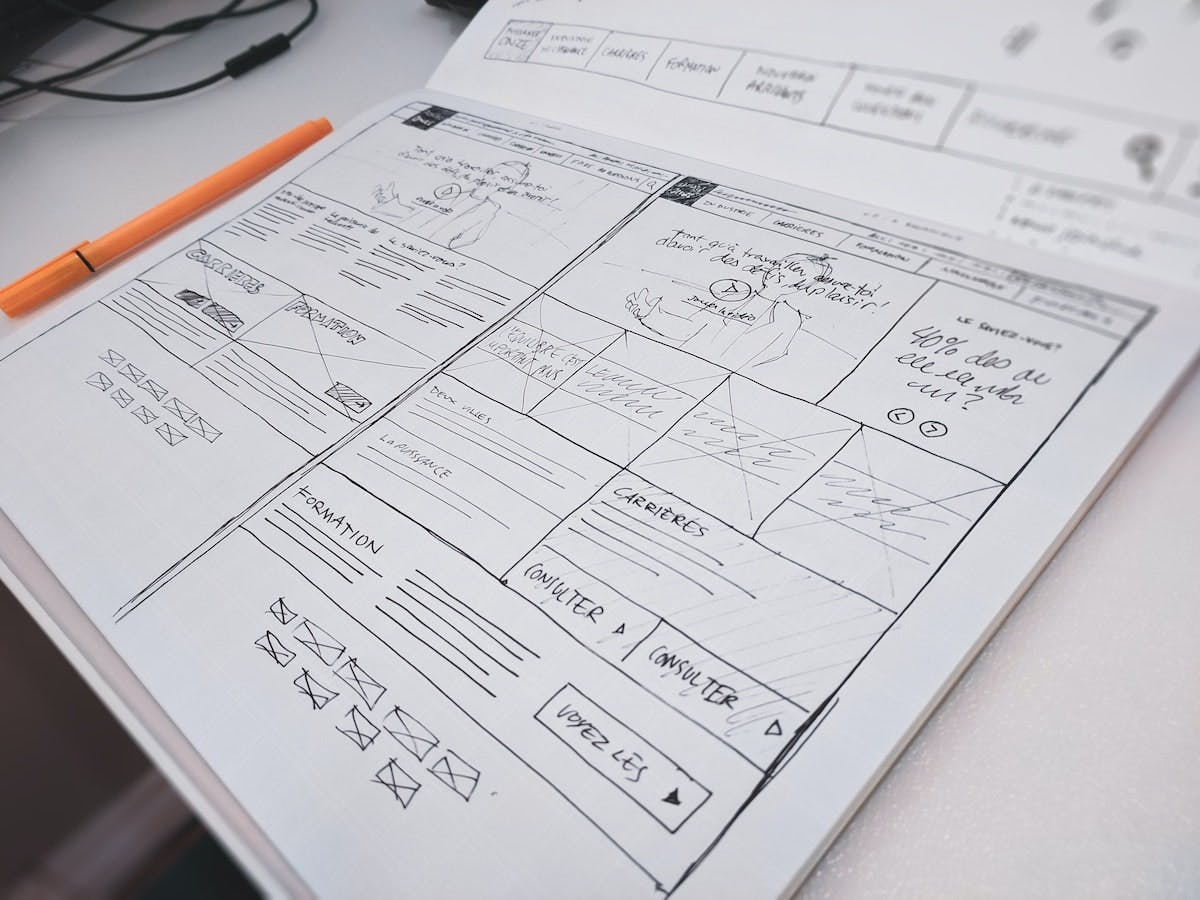
Once my moodboard was complete, I began brainstorming which visual design elements I would like to incorporate and built a low-fidelity wireframes.
Feel Free to Reach Out
I briefly went over various topics in this post, but didn't go into any topics in-depth. If you have questions, feel free to reach out on Twitter.
I will be updating this post over time as the blog is updated with new features.